Icons are a small yet crucial part of any user interface. If you want to provide a first-class user experience, you need to master the art of icon design, and that means knowing and following a certain set of principles.
So what are the golden rules of icon design? The most important principles are:
- Clarity of meaning
- Visual clarity (or readability)
- Simplicity
- Familiarity
- Alignment and balance
- Consistency across the board
- Personality and branding
In this guide, you’ll find a detailed explanation of these principles, together with real-world examples to show you what good icon design looks like in action.
Here’s everything we cover (if you want to skip straight to the principles, just click ahead):
- What are UI icons and what are they used for?
- What are the 3 types of icons used in UI design?
- 7 key principles of icon design
- How to design accessible icons
- Using AI in icon design: key considerations
- 3 common icon design mistakes to avoid
- Tying it all together: how to get started with icon design
Let’s jump in!
What are UI icons and what are they used for?
In user interface (UI) design, icons are small visual elements, like symbols, which are used to represent certain functions, features, or types of content within a user interface.
Let’s consider the IKEA website. They use a variety of icons throughout to convey different actions the user can take. The heart icon in the top right represents the user’s wishlist; if they click on it, they’ll be taken to an overview of all the items they’ve saved. The basket icon next to it represents the user’s shopping bag. If they click on it, they can see all items they’ve added to their cart and proceed to checkout.
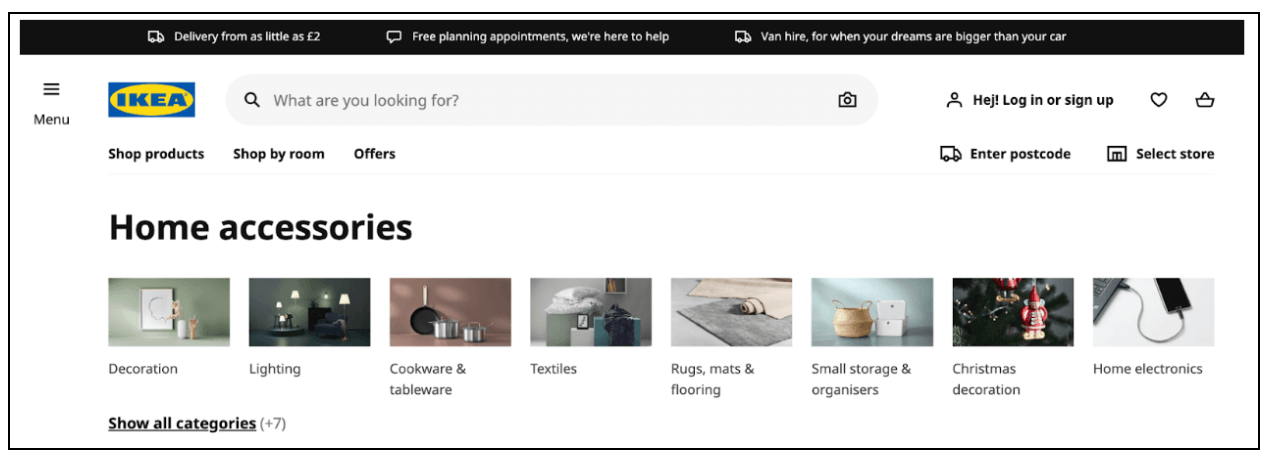
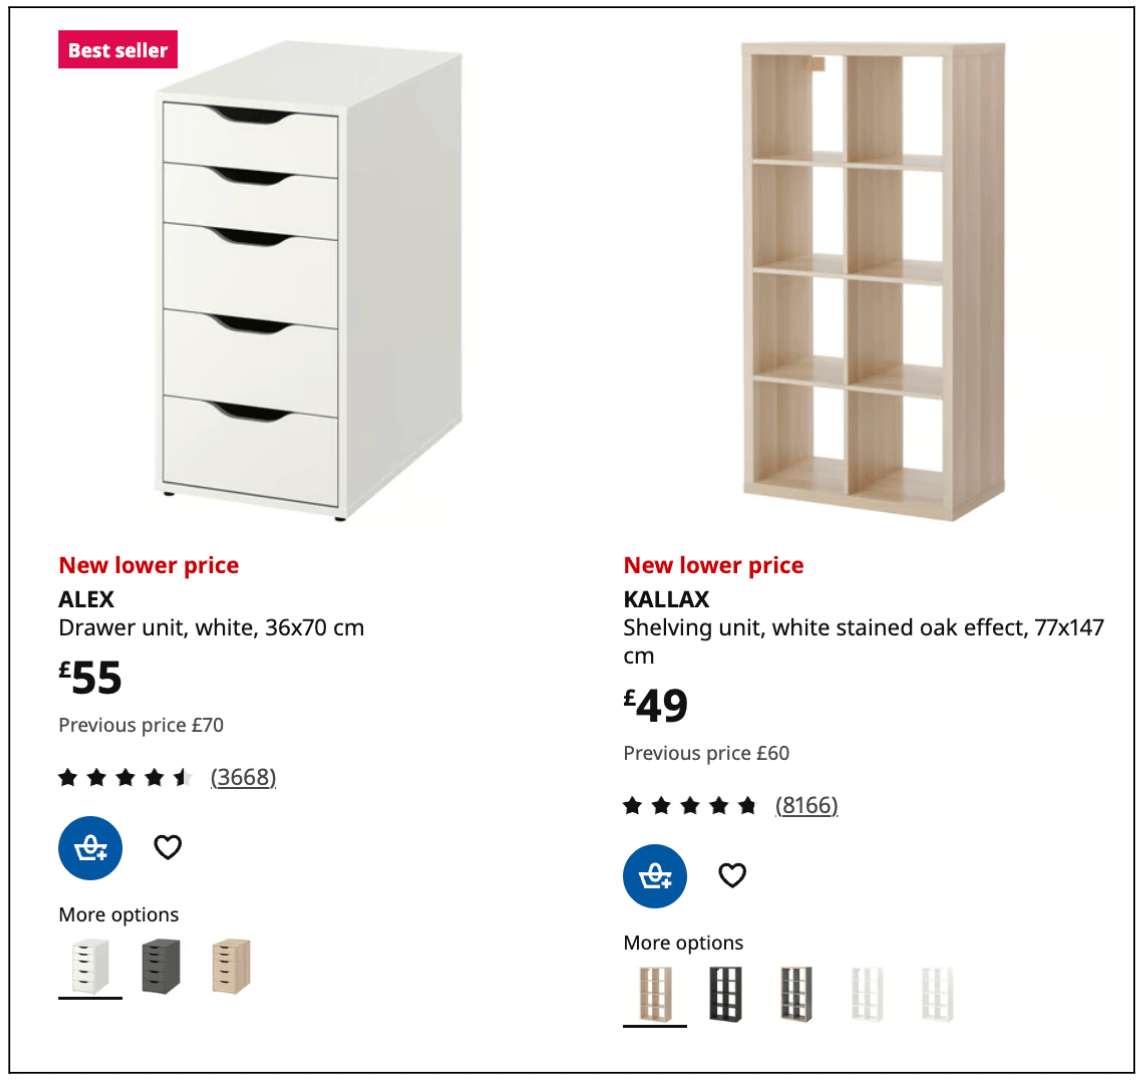
In the next screenshot, there’s a shopping bag with a plus sign next to each individual item. This icon represents the ‘add to shopping bag’ function. There’s also a simple heart icon which the user can click on to save an item to their wishlist.
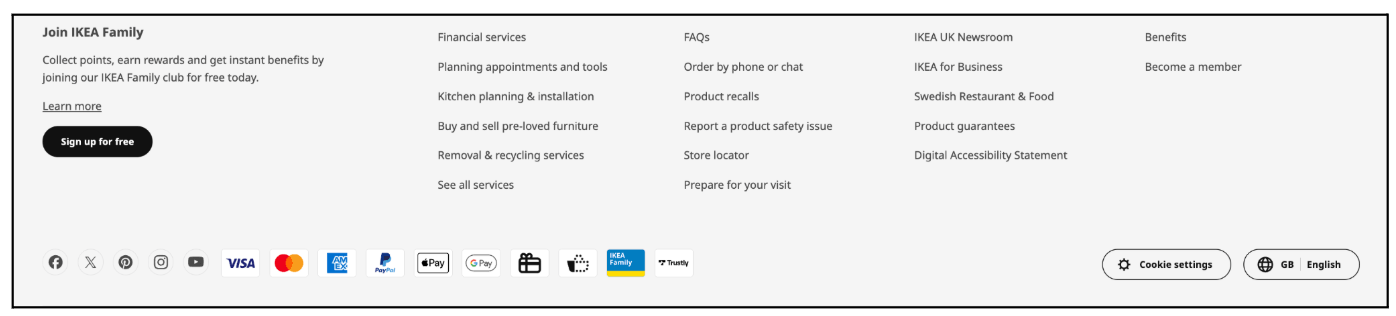
Then, at the very bottom of the page, there’s a range of familiar icons representing Facebook, X, Pinterest, Instagram, and YouTube, as well as a variety of possible payment methods including VISA, Mastercard, and PayPal.
As shown by our IKEA example, icons are used to communicate with the user visually. They help the user to navigate a digital interface and complete different actions without the need for lengthy text descriptions.
The idea is that icons are familiar and easily recognisable so the user can decipher, at a glance, what each icon means.
What are the 3 types of icons used in UI design?
Icons can fall into one of three categories:
- Universal icons
- Conflicting icons
- Unique icons
Universal icons
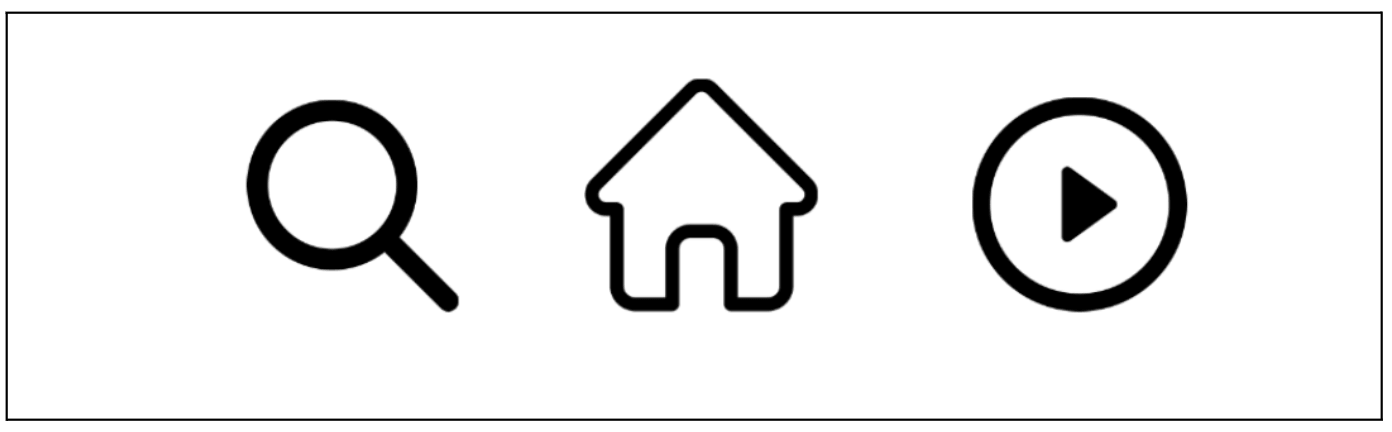
Universal icons are those that are easily and instantly recognisable by most users. Consider the magnifying glass icon which typically represents the search function, the house icon which indicates the homepage/home screen, or the triangle-in-circle icon which we’ve come to recognise as a play button. No matter where you see these icons, you intuitively know what they mean.
Conflicting icons
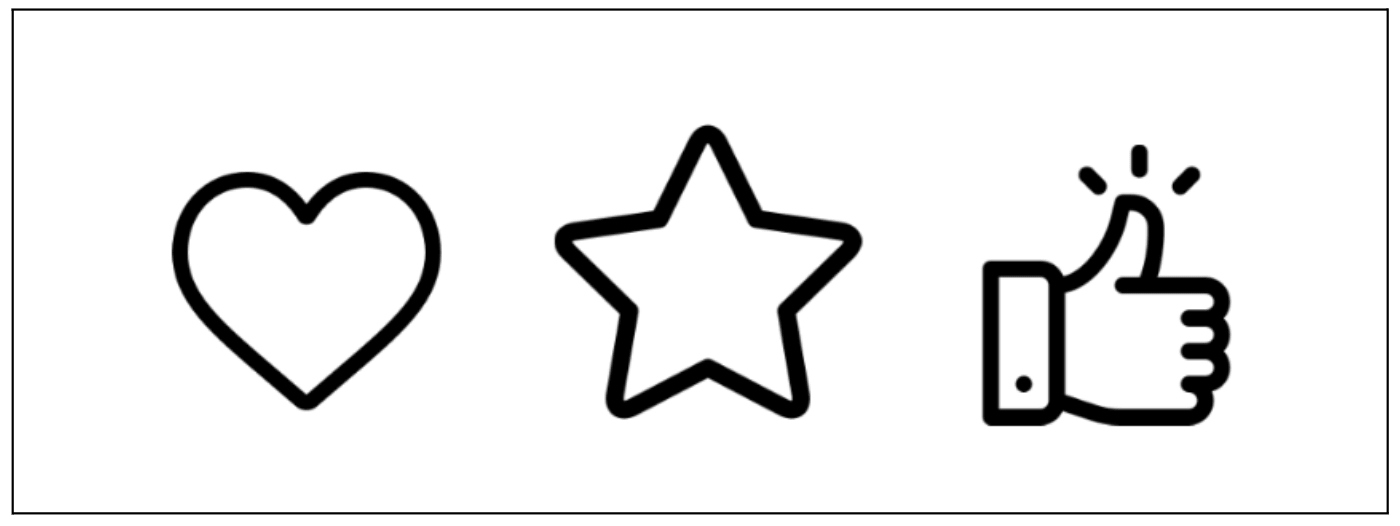
Conflicting icons are those that have different meanings depending on where they’re used. For example, on the IKEA website, the heart icon is used to save an item to your wishlist. On Instagram, however, the heart icon represents the ‘like’ function. On other social media sites, the ‘like’ function is conveyed with a thumbs up icon. Elsewhere, a star icon might be used to ‘favourite’ something or add it to your wishlist. See how there is no universal meaning for these icons?
Unique icons
Unique icons represent features and functions that are unique to a particular product or interface. These can be hard to recognise as they’re not something the user encounters regularly. As such, they require the user to ‘learn’ them in the context of a specific app or website. For example, the GetYourGuide app uses a ticket icon to represent the user’s bookings.
Airbnb also uses a range of unique icons to represent the different types of accommodation available.

In both examples, the icons are accompanied by text to help clarify their meaning. Otherwise, it would be very difficult for the user to understand what each icon stands for.
7 key principles of icon design all UI designers must follow
Now we know what icons are and what they’re used for, let’s explore the practicalities of designing your own. You want to design icons that communicate effectively with the user, spark familiarity and recognition, and complement the overall design of the interface.
To achieve all of those things, there are certain principles you’ll need to follow. The seven core principles of icon design are:
- Clarity of meaning
- Visual clarity (or readability)
- Simplicity
- Familiarity
- Alignment and balance
- Consistency across the board
- Personality and branding
These rules apply to both individual icon design and to the design of entire icon families (i.e. a set of icons which all belong to the same brand or product). So what do they each mean? Let’s delve in.
1. Clarity of meaning
The first golden rule of icon design is clarity. When a user encounters an icon, they should be able to easily deduce what the icon means. As such, it’s important to design your icons with your target users in mind.
The clarity principle is especially crucial if you’re designing a unique icon which isn’t universal. Think about what visual clues or symbols your users might associate with the action you’re trying to convey. For example, if you wanted to design a ‘library’ icon for a study app, you might use the familiar image of a book. An owl, on the other hand, might be too obscure.
2. Visual clarity (or readability)
The second icon design principle is visual clarity or readability. Icons are small, so you want to make it as easy as possible for the user to see exactly what’s going on. If you include too much fine detail or inadequate spacing, you risk your icons, and their individual elements, morphing into a blurry blob.
Just as you do with typography, colour, and most other aspects of UI design, create your icons for optimal legibility.
3. Simplicity
Closely related to visual clarity is the simplicity principle. As you’re working with limited space, it’s essential to convey the meaning of each icon simply and efficiently. You don’t want the user to ponder over unnecessary detail or have to peer too closely to figure out what the icon is actually depicting. Convey it as succinctly as you can.
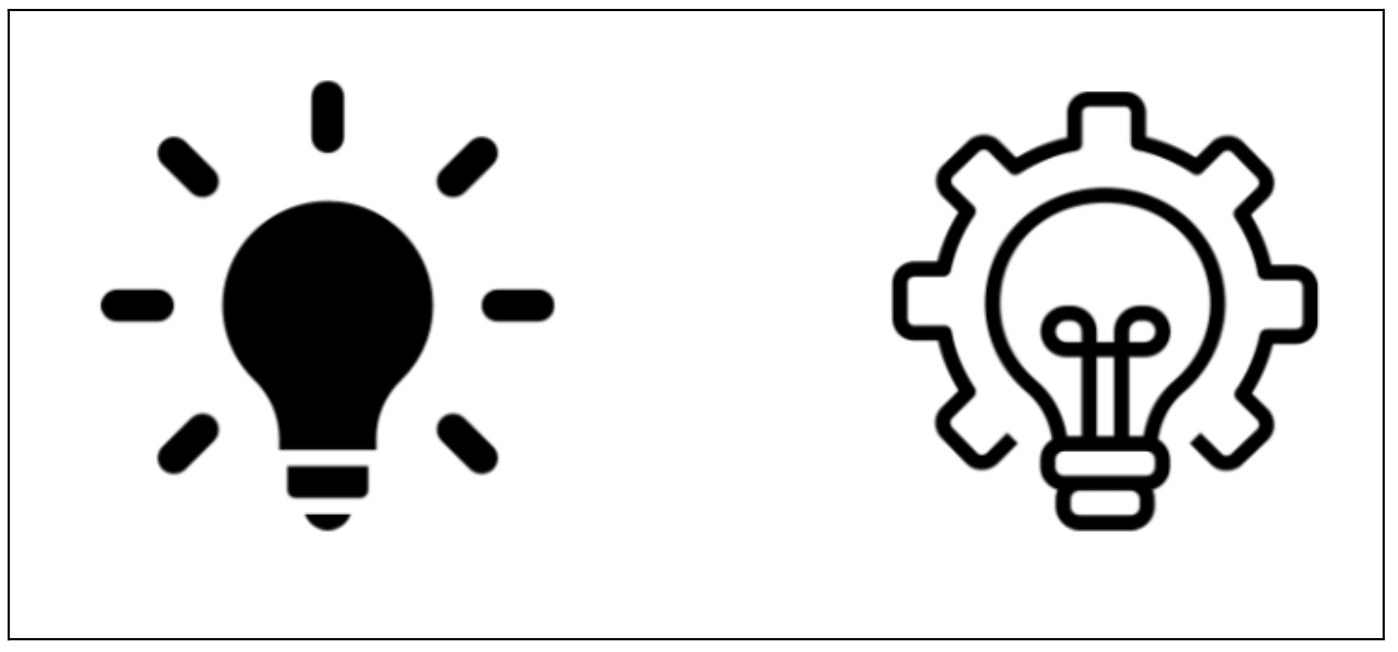
Consider these two examples of a lightbulb icon. The one on the left is fairly simple, while the one on the right includes more detail. Both convey the same thing, but the simpler version is arguably much easier to make sense of.
4. Familiarity
Our fourth principle of icon design is familiarity. You don’t need to reinvent the wheel; stick instead with what your users know.
Earlier in this post, we talked about the different types of icons: universal, conflicting, and unique. Wherever possible, design icons that are universal. Classic examples are the magnifying glass used to represent the ‘search’ function, the envelope icon used to represent a user’s inbox, the house icon to represent the home screen, and the printer icon to convey printing functionality.
When designing such icons, there’s no need to come up with something new. Users already understand what these icons mean, almost as second nature, and that’s the kind of intuitive usability you want to create.
5. Alignment and balance
Now we’re getting right down to the details. Icon design should be a precise and meticulous art, so make sure you strive for alignment and balance.
Essentially, this means positioning each element of your icon so that it ‘looks right’ to the naked eye. Sometimes this requires central alignment and even spacing, but often it’s a case of using your own judgement to achieve the right balance.
Consider these two icons taken from Google’s icon library. The first, a circular icon, has the line and arrow aligned perfectly central. Imagine how irksome it would be if the arrow wasn’t quite in the middle of the line it’s pointing to!
The second icon, however, has the plus symbol aligned to the right—which works much better with the shape it’s enclosed in (not quite a rectangle). When designing your own icons, use your designer’s eye to ensure the right alignment and balance for each individual icon.

6. Consistency across the board
Our sixth principle of icon design, consistency across the board, refers to the design of entire icon families. While each individual icon is conveying its own message, all icons used across a product should exist in harmony. This means they all need to adhere to the same set of rules.
To create consistency, ensure that all icons carry the same visual weight (i.e. are the same height and width). And, if you’re using colour, use a consistent colour scheme which aligns with the overall visual brand.
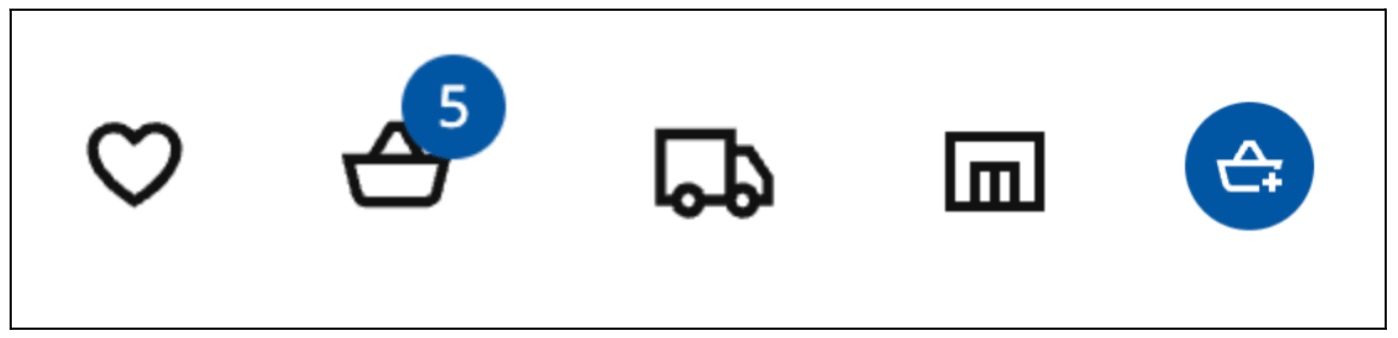
Let’s once again return to our IKEA example. Each of the icons shown has a different shape, but you can see that they belong to the same icon family. This is thanks to the consistency principle.
7. Personality and branding
Last but not least: design your icons with personality and branding in mind. As an integral part of a product’s user interface, icons have an important role to play in capturing and aligning with the wider visual brand.
This is your chance to get creative. You can use colour and style to design icons which are visually unique (without compromising on those all-important qualities of simplicity, clarity, and familiarity).

Here you can see some icons from the Holland & Barrett icon family. If you’re familiar with Holland & Barrett (if not, head over to their website) you can see how these icons have been designed in line with the overall brand.
How to design accessible icons
Another crucial UI principle, no matter what you’re designing, is accessibility. When creating icons, you must ensure that they can be used and understood by everybody. This means designing with assistive technologies (such as screen readers) in mind, and considering the needs of users with visual, cognitive or motor impairments.
Here are some key accessibility principles to follow when designing icons:
- Use text labels where necessary. Some icons are widely understood and can often work on their own, like the magnifying glass or the house icon. Less familiar or potentially ambiguous icons should be paired with a clear text label so users don’t have to guess what they mean.
- Ensure sufficient colour contrast. Icons need to be clearly distinguishable from their background and surrounding interface elements. Check icon contrast across different states (for example, is there still plenty of contrast when hovering over an icon or selecting it?) and, where applicable, in both light and dark modes.
- Design for screen readers. Interactive icons should have an accessible name that clearly describes their purpose. Decorative icons should generally be hidden from screen readers so they don’t add unnecessary noise to the experience.
- Make interactive icons easy to select. Icons that function as buttons or controls must have a large enough clickable or tappable area. This ensures they’re accessible for people with limited dexterity or motor impairments (and creates a better user experience on small touchscreen devices in general).
Accessible icon design ultimately comes back to clarity, and that’s beneficial to all users. You can learn more about accessible design and why it’s so important here.
Using AI in icon design: key considerations
Like almost every area of design, AI can be used as part of the icon design process. Many tools now include AI-powered features that can help you quickly generate icon concepts and experiment with different ideas and directions.
If you’re using AI to help with icon design, here are a few things to bear in mind:
- Use AI for exploration, not just finished assets. One of AI’s biggest strengths is speed. Instead of using it to create the perfect final icon, use it to rapidly explore different styles and visual directions before deciding which ideas are worth developing further.
- Be specific with your prompts. Generic prompts tend to produce generic results, so be clear about what you want from your icons. What purpose should the icon serve? In what context will it appear? Do you have any preferences or requirements around style, colour and line weight? Give the AI clear creative constraints for better designs.
- Watch out for inconsistencies across icon sets. Generating one great icon is relatively easy; generating multiple icons that genuinely look and behave like a coherent system is harder. If you’re creating an icon family with AI, establish clear visual rules and use them consistently across your prompts.
- Consider ownership and licensing. Before using AI-generated icons commercially, check the terms of the tool you’re using and make sure you understand what rights you have over the output. At the same time, be mindful of outputs that closely resemble existing icons and brands.
- Don’t skip the human design process. Treat all AI-generated designs as something to evaluate, test, and refine; not as an automatic replacement for human creativity and judgement. Anything you produce with AI should be QA’d against all the principles we’ve outlined in this guide.
That final point is especially important. AI can help you generate icons quickly, but it’s up to you to make sure that they make sense for your users and the product you’re designing.
3 common icon design mistakes to avoid
Even with the key principles in mind, it’s easy to fall into some common traps that unintentionally create friction for your users. Here are three icon design mistakes to watch out for (and what to do instead).
1. Trying to communicate too much with one icon
Icons only have a tiny amount of space to communicate, so they work best when they represent a single, straightforward action or concept. If you try to combine multiple ideas into one icon, you’ll likely end up with something cluttered and overly complex that confuses your users.
If you find yourself adding more elements to make an icon’s meaning clear, consider whether you’re asking it to do too much. Instead, try to simplify the concept or use a text label to communicate the intended action. Less is usually more when it comes to icon design.
2. Reinventing familiar symbols
Creativity is important, but usability should always come first. Users have learned to associate certain symbols with specific actions: a magnifying glass for ‘search’, a trash can for ‘delete’, or a house to represent the home page, for example.
If you try to replace these established conventions with something more original, you’re taking away that familiarity and instead requiring your users to stop and figure out what an icon means. Before trying to invent a new visual metaphor, consider whether there’s already a well-known symbol that communicates the same thing.
3. Designing icons in isolation
An icon might look great on its own but fall apart once it’s placed within the actual interface. Always consider where and how an icon will be used, including its size, surrounding elements and different interactive states.
It’s also important to look at how individual icons work together as a set. Differences in things like stroke width, proportions, level of detail or visual style can make an interface feel inconsistent — even if each icon works well individually.
Tying it all together: how to get started with icon design
Now you know the golden rules of icon design. So what next?
If you’re ready to design your own icons, you’ll first need the appropriate tools. We recommend starting with Figma, Adobe XD or Sketch, as these are some of the most popular industry platforms—but you’ll find a comprehensive list of the best UI design tools here.
Once you’re set up on your chosen tool, you can then experiment with designing your own icons or follow a tutorial for step-by-step guidance. Just type “icon design tutorial for Sketch/Figma/Adobe XD” into Google.
And remember: Our 7 icon design principles are always on hand to guide you. Refer back to them throughout and you’ll soon have a set of usable, user-friendly, and aesthetically pleasing icons of your own.
Want more UI design tips?
Icon design is just one aspect of the UI designer’s work. If you’re brand new to UI design, consider a UI design course to learn all the fundamental theory and processes first. Our guide to the best UI design courses will help you choose one.
Already working in UI and keen to level up your craft? Then you may enjoy this post: How to become a better UI designer—9 expert tips.

Emily is a professional writer and content strategist with an MSc in Psychology. She has 8+ years of experience in the tech industry, with a focus on UX and design thinking. A regular contributor to top design publications, she also authored a chapter in The UX Careers Handbook. Emily also holds a BA in French and German and is passionate about languages and continuous learning.